Your cart is currently empty!
ASRCP Application Screen Descriptions
The Autostar RS232 Control Protocol (ASRCP) is an Android Application and a sister app to the ASIIE that utilizes the Meade Autostar Serial Protocol to control various Meade Telescopes. Users of the App must purchase a WIFI Kit from the developer which consists of the WIFI Adapter and a custom cable that plugs into the RS232 port of the mount or Handheld device.
The App and kit will enable the user to remotely (using WIFI) control their respective telescope as if they are using the Hand controller. Due to the various Telescope models and Serial Port implementation, we are working on providing a Custom Cable solution that can be easily adapted by the user to match their respective Meade telescope.
The App structure is complete and now open to the general public by purchasing one of the ASRCP Kits that matches your telescope model(s).
SIGN UP / SIGN IN SCREEN
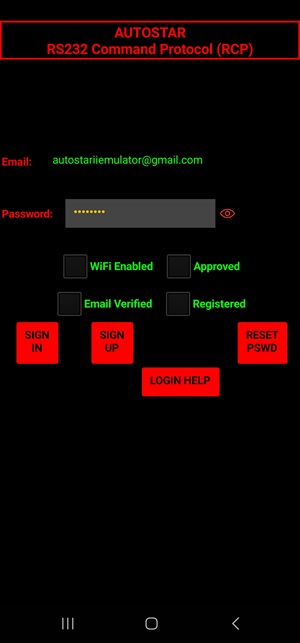
The Sign Up/ Sign In Screen is similar to the ASIIE app if you are familiar with it and it shares the same Google Cloud Services for User Authentication and the same database as the ASIIE. New Users are required to Sign Up by entering an email and a password. Google Services will then send an email Verification request. If you Do Not see the email in your In Basket then check your Spam/Junk folder. After the user validates their email account, then the developer needs to approve and configure the account. Once all is done, then you can start using the app.
Control Screen
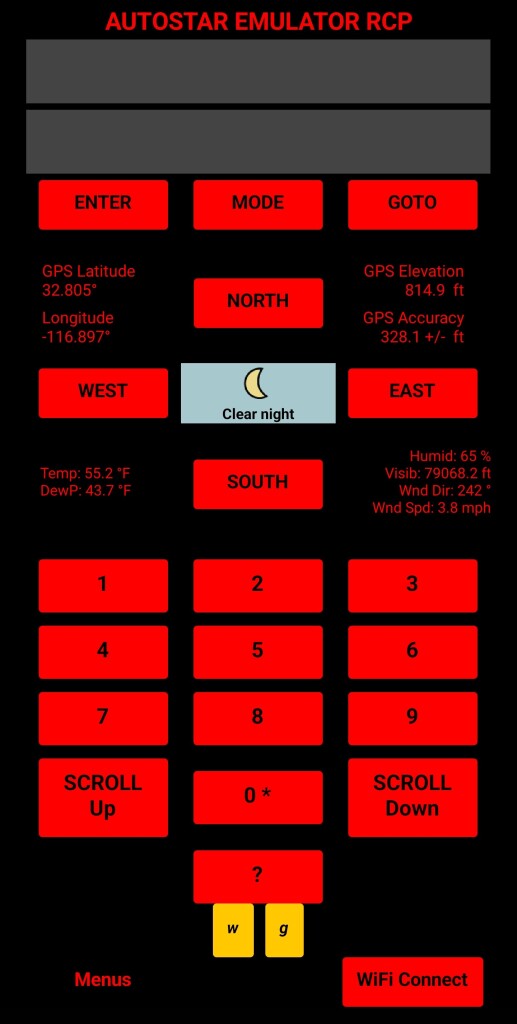
The Controls Screen is the first screen that you will see after clicking the Sign In button. It is a mimic of the Meade Hand Controller with some additional informational data such as GPS (Latitude, Longitude, Elevation, Accuracy) and Current Weather (Temperature, Dew Point, Humidity, Visibility, Wind Direction, Wind Speed) . The first step is to open the Settings Screen by selecting the Menus button and configuring the app. Once the app has been configured correctly to match your Wi-Fi adapter, then you can select the WiFi Connect Button. The app will then validates the Wi-Fi Adapter and will connect to the mount and updates the two display lines. If the two display lines do not update in a timely manner, you can select the Update Display button and that should bring in what ever is being displayed on the actual Hand controller.
Selecting the Menus button will open a list of the various screens available. Other than the Settings Screen, you first must be connected to the mount before the app will open those screens.

Settings Screen
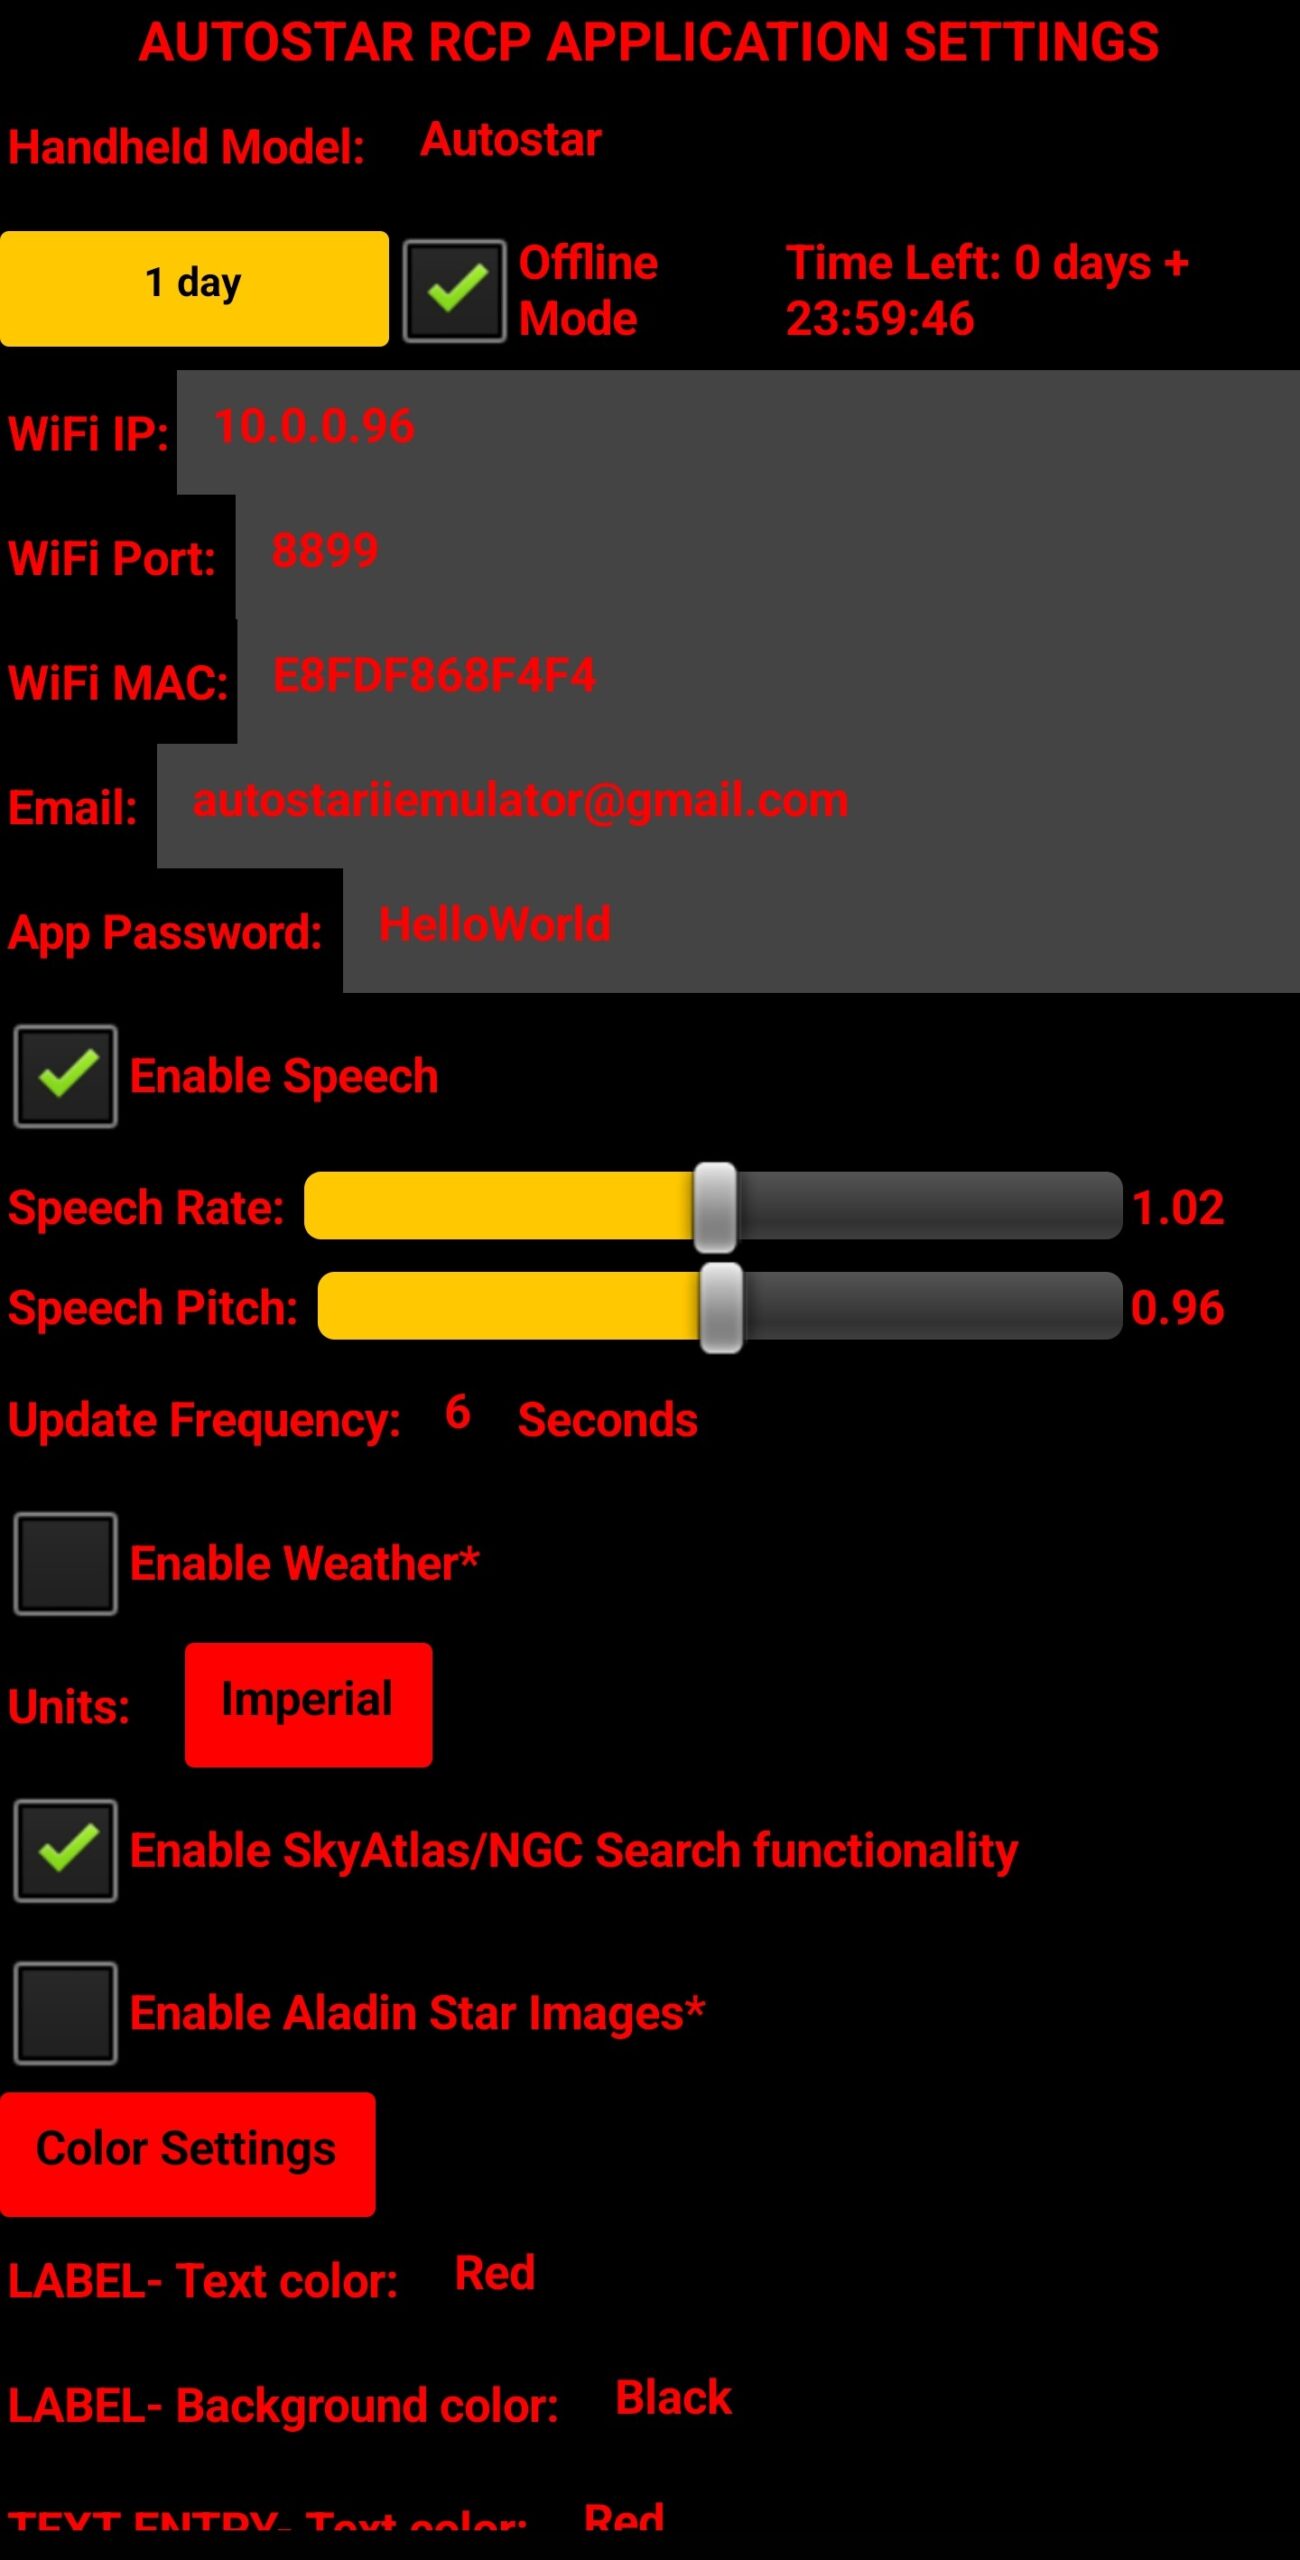
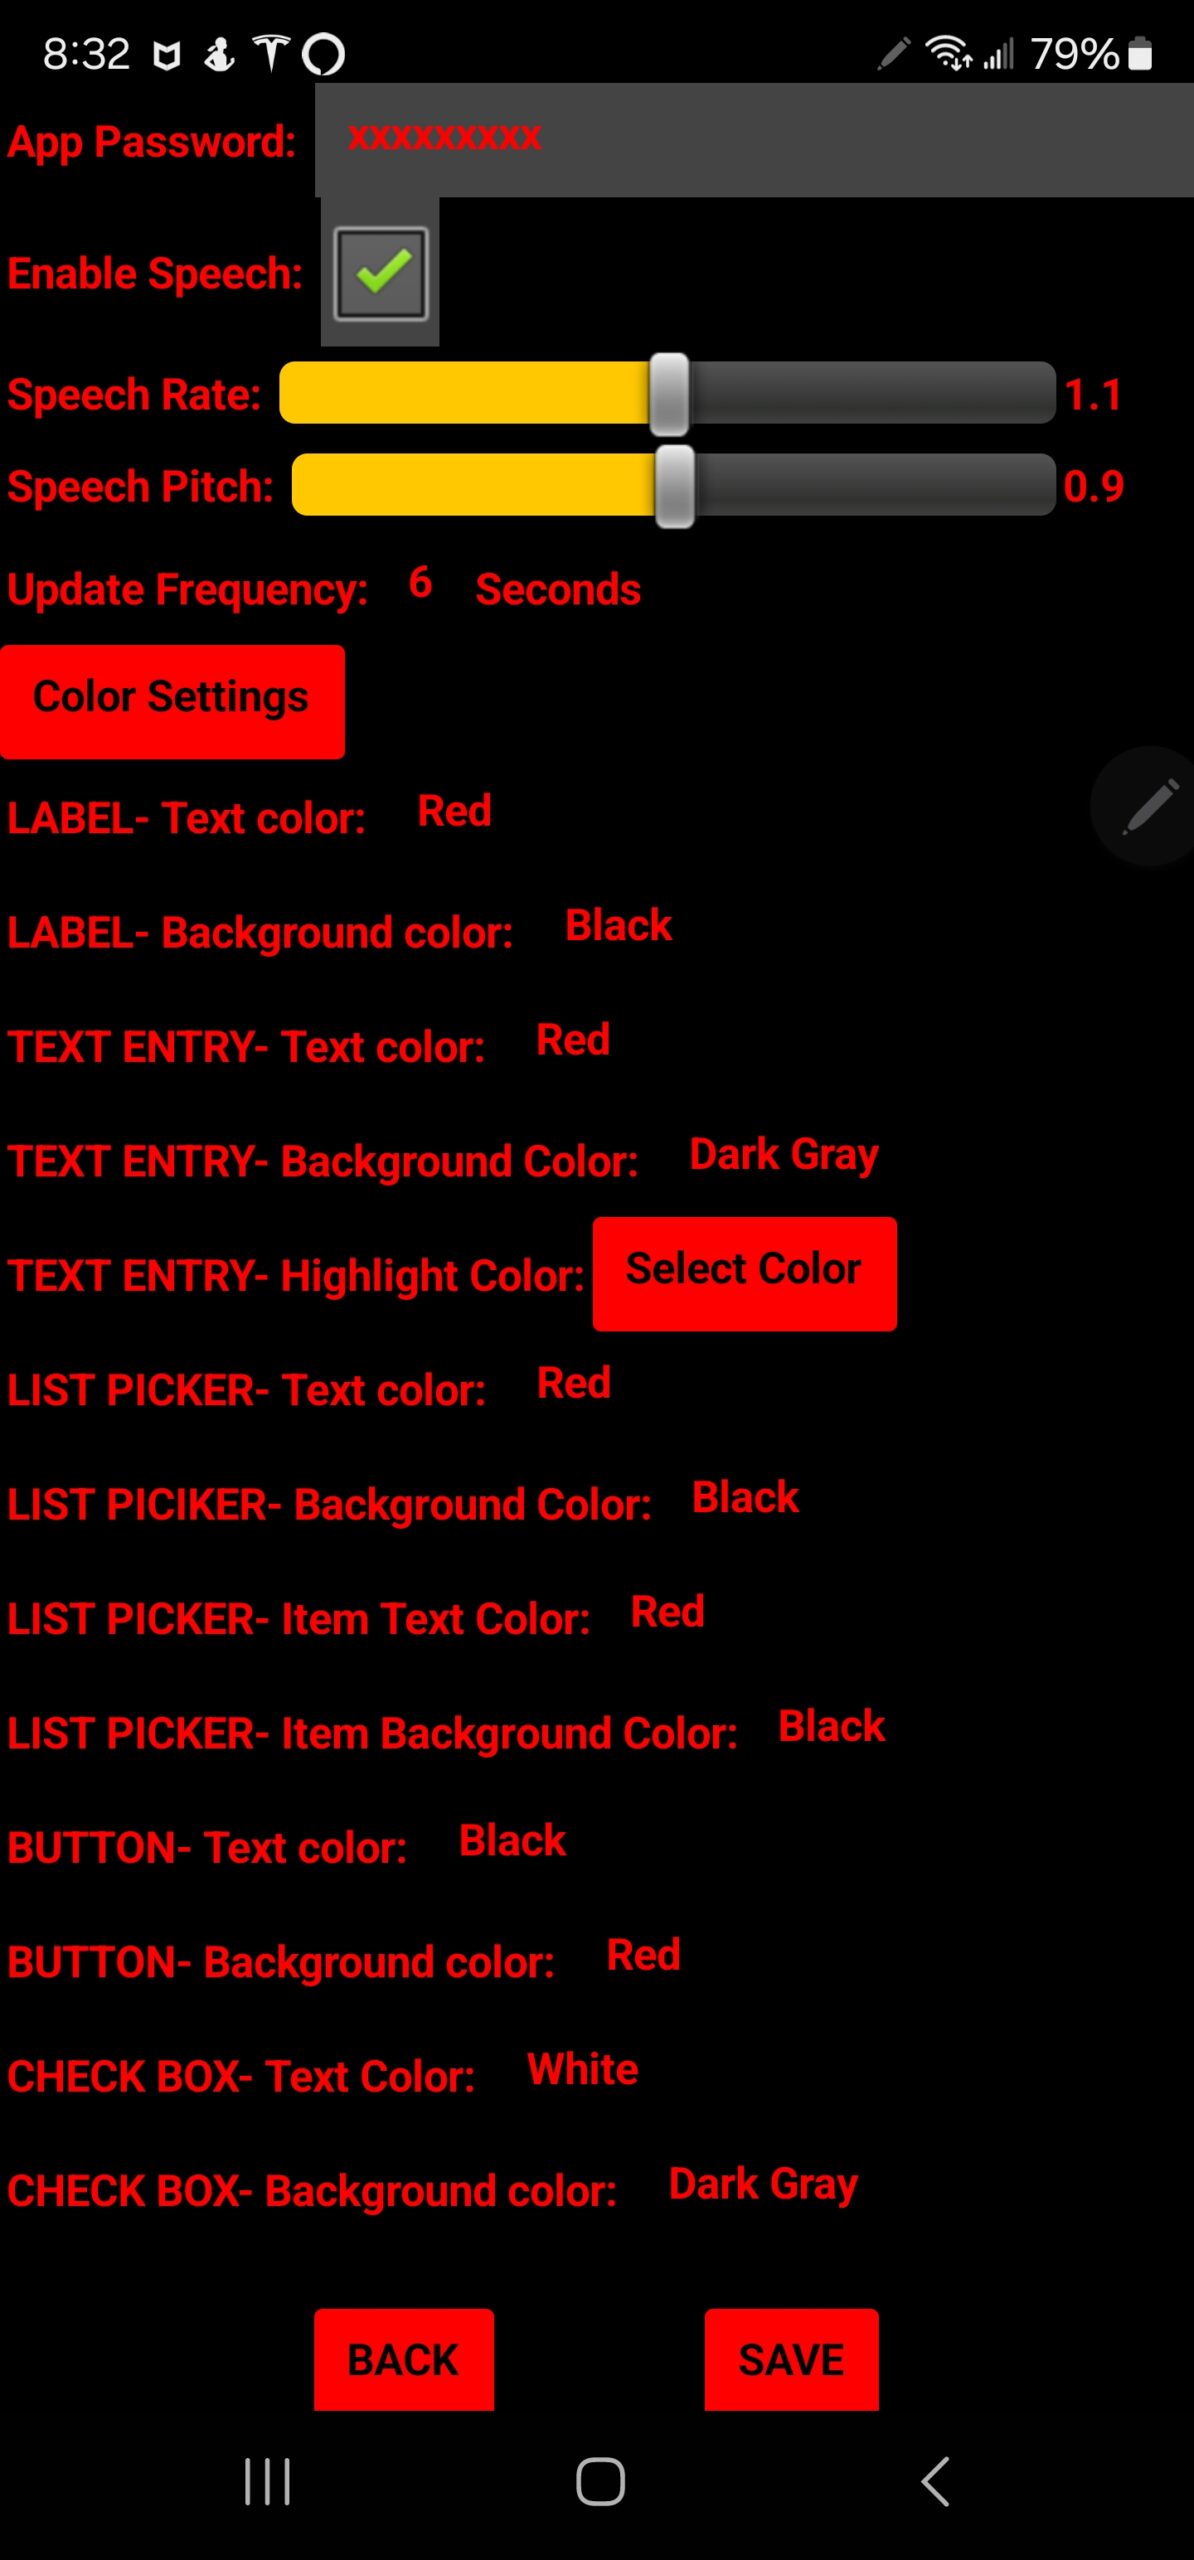
The Settings Screen is where you configure you Account, Wi-Fi adapter, Speech, and Color settings for each type of component (Labels, Text Entry, Lists, Check Boxes, etc.) of the app. We just implemented some new features similar to the ASIIE application, which are Offline Mode, Current Weather and 12 Hour Weather Forecast, SkyAtlas Search capability and Aladin color images and web interface.
Command Screen
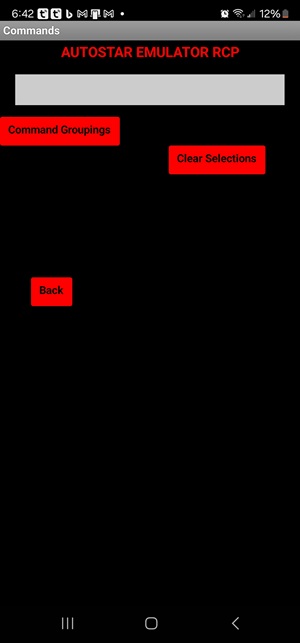
The Commands Screen opens up as noted above with a Command Groupings button. Selecting this button you will be served a list of Command Groupings as documented in the Meade RS232 Protocol and as noted below. Each grouping could have one or many commands.
Command Grouping Screen
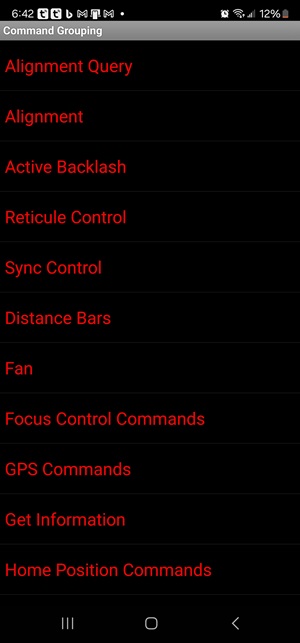
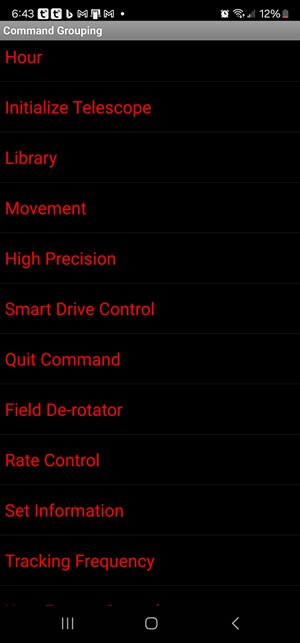
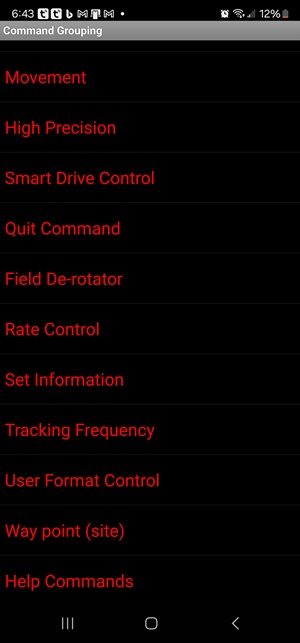
Selecting the Get Information grouping as an example; you will be served with every command, its definition/function and any Return Values.
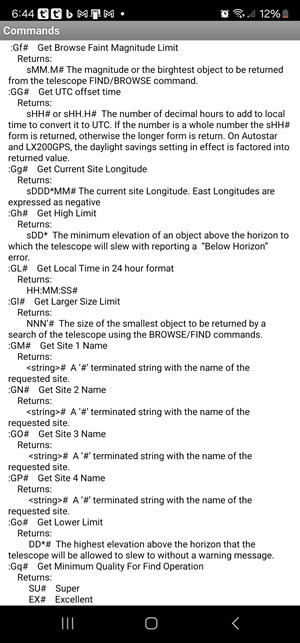
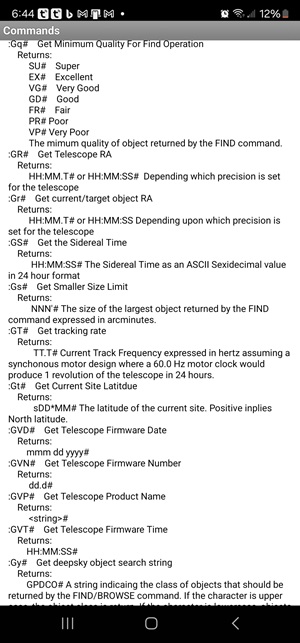
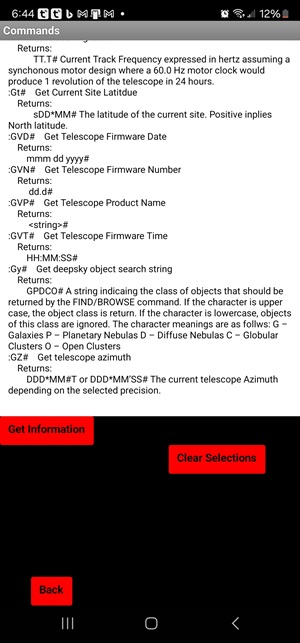
If you want to issue one of the commands, then you need to select the Get Information button below the Definition List which will then give you a list of commands to chose from as noted below.
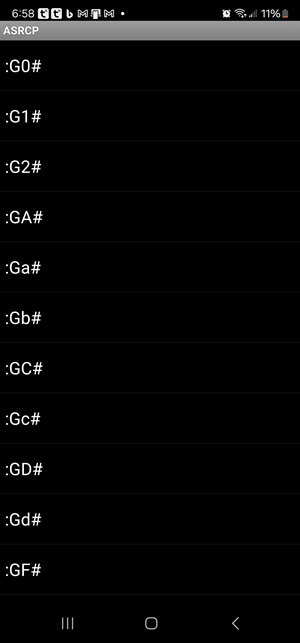
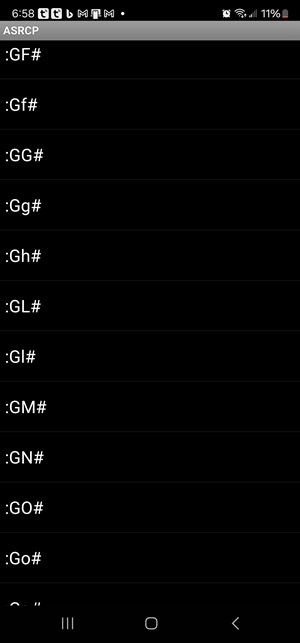
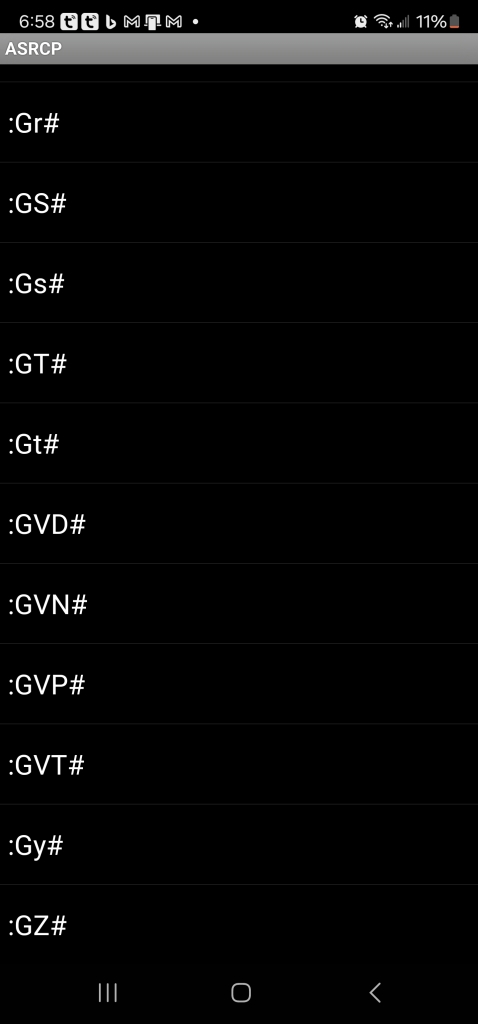
Selecting :GO# which per the definition above stands for “Get Site 3 Name” will trigger a new button to show up Send Command as noted below.
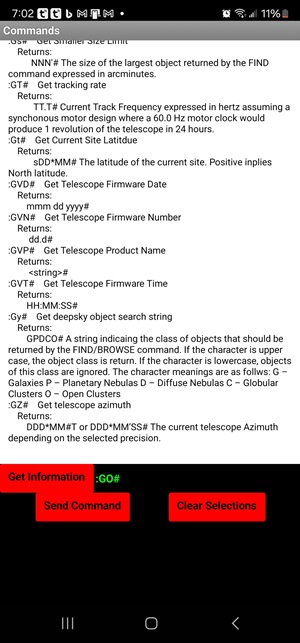
Selecting the Send Command button will issue the noted command and you will see the result on the display line on top of the screen.
This screen can be of great assistance in your trouble shooting efforts.
HBX Menus Screen
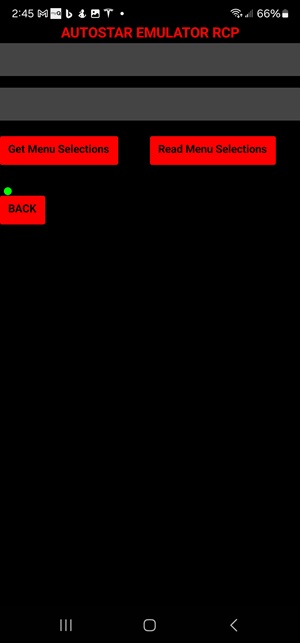
The HBX Screen opens up as noted above with two visible buttons. The app will check if menu tree file exists and will provide a voice message accordingly. Selecting the Get Menu Selections button will start downloading the Controller menu tree. The process is a bit slow since it is dynamically building the whole menu selections. Once its complete, it will save the file for quick access by using the Read Menu Selections button. Once this step is complete you will be served the noted below screen.
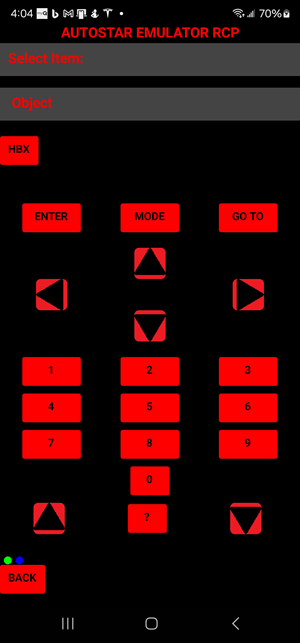
Again, the screen mimics the Hand controller chosen in the Settings Screen and a HBX button is shown. Users can now quickly travers the menu selections using the HBX button or go through the normal process of using the Scroll Up/Down and Enter buttons.
Selecting the HBX button will open a list of Level 1 of the Hand controller selections as noted below.
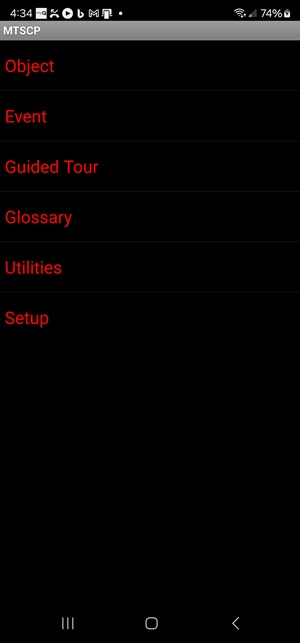
Selecting Object (as an example) will open a list of Level 2 Object selections as noted below.
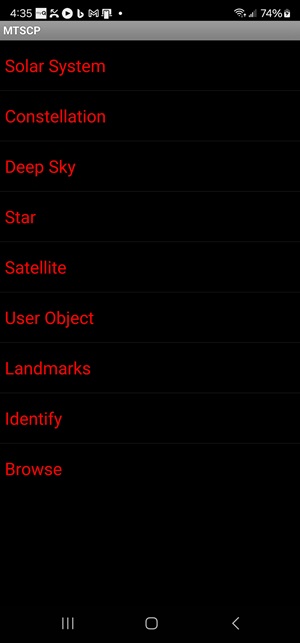
Selecting Solar System will open a list of Level 3 Solar System selections as noted below.
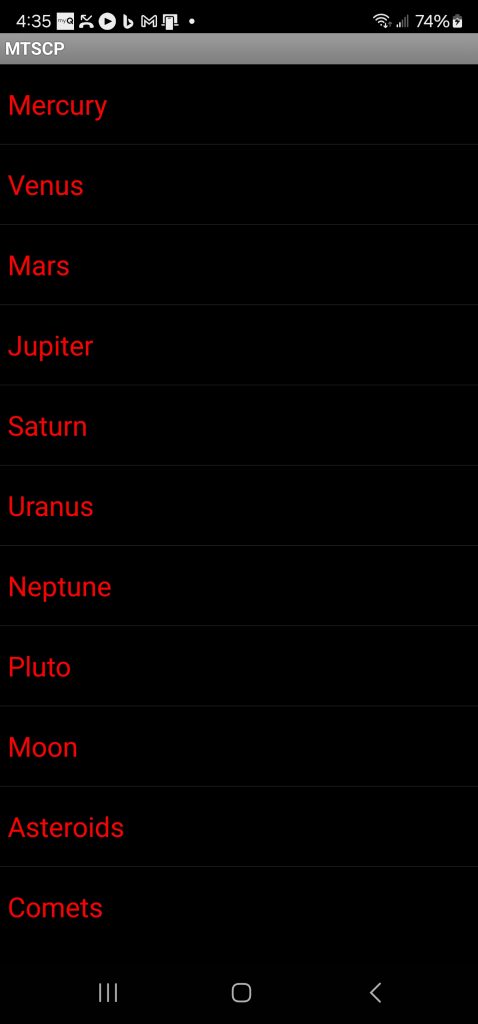
Selecting Moon will complete the process since there are no sub selections for the Moon and you see the 2 Display Lines update accordingly as noted below and will match the Hand controller.
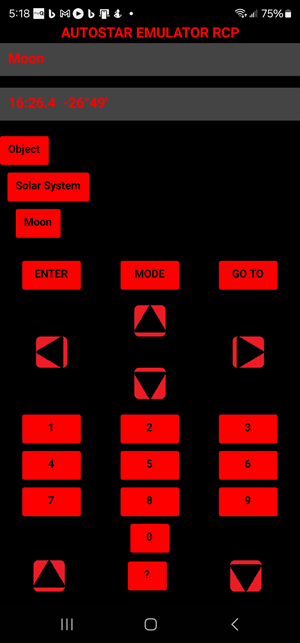
Quick Control Screen
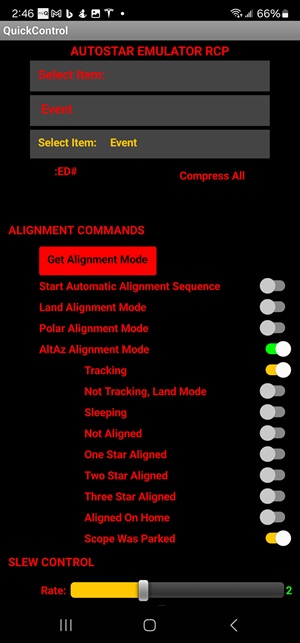
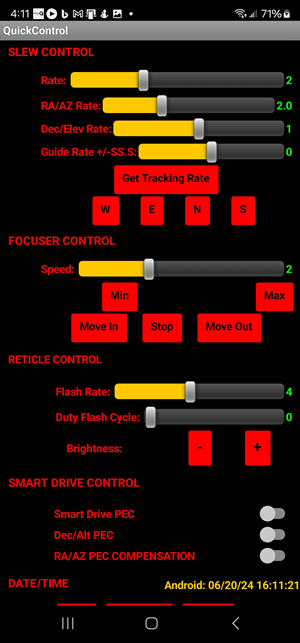
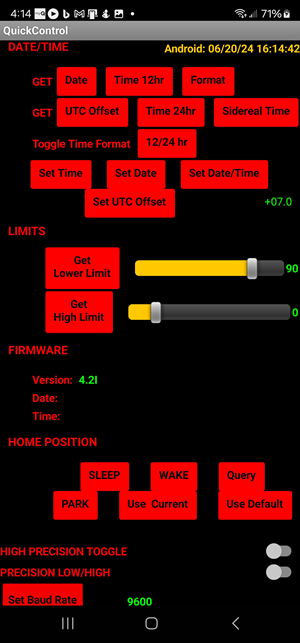
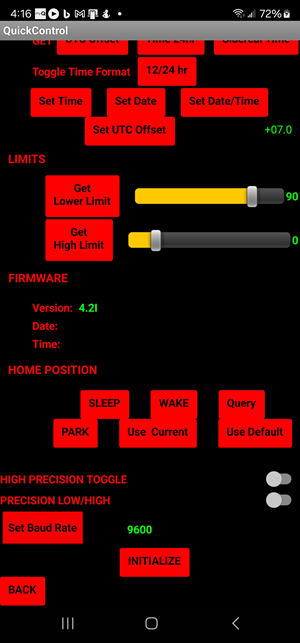
The Quick Control Screen is a long screen that requires the user to scroll vertically to see all the information as noted above. User can quickly find a setting that they want to change or check its current setting value.
Mount Info Screen
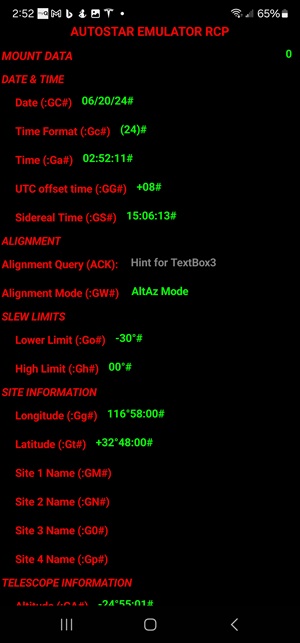
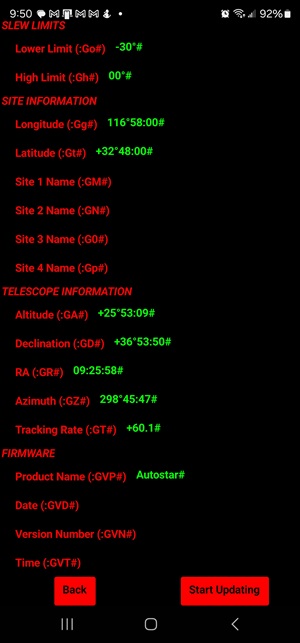
The Mount Info Screen displays all the Get Commands and shows the result in green text. The user can select the Start Updating button to start refreshing the noted information every x seconds as set in the Settings screen. Users can not change any of the values in this screen, its a quick way to see the various values…


