Your cart is currently empty!
ASIIE Application Screen Descriptions
SIGN IN SCREEN
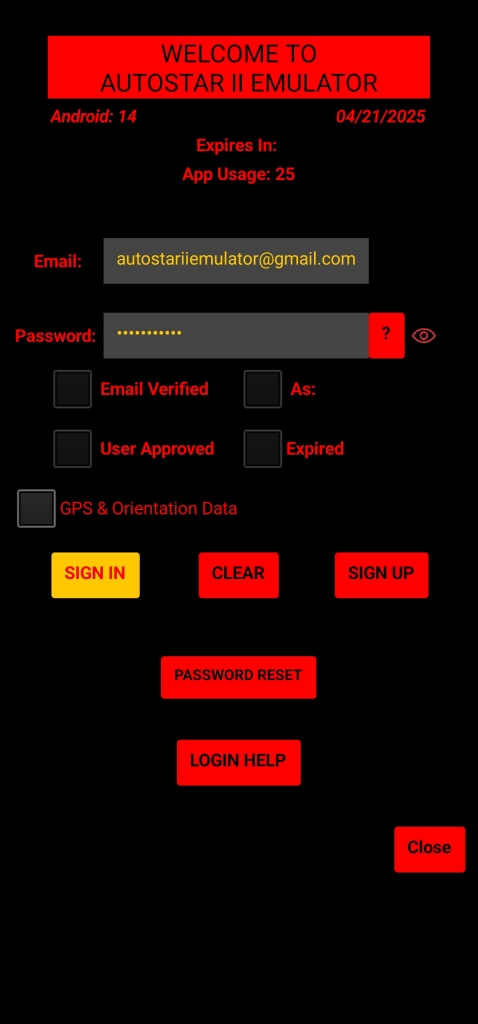
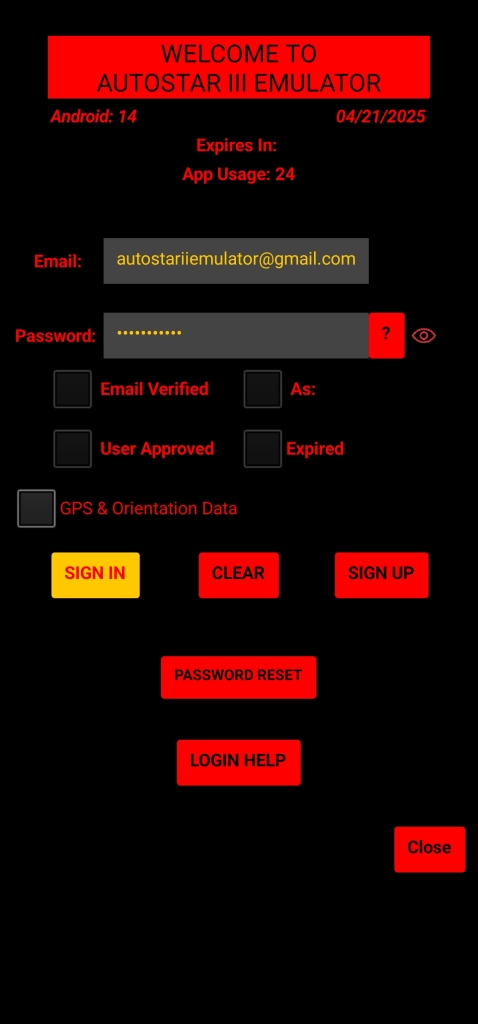
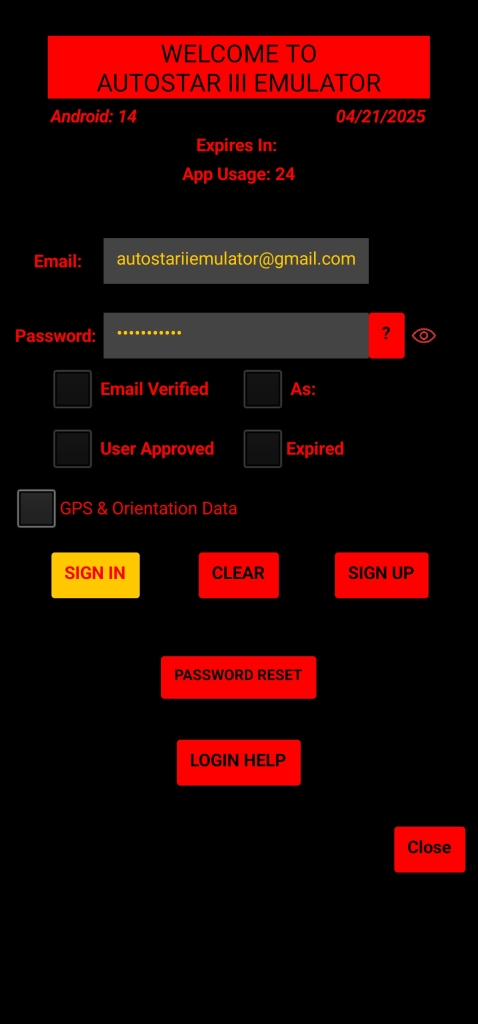
The SIGN IN screen is the first screen the user will see when starting the ASIIE app. It consists of the following elements:
- A Welcome Header
- Android: Version No of the device
- A date field that will show up once the GPS of the device gets a solid signal. With out the date showing up (getting a GPS signal) the user will not be able to SIGN IN or SIGN UP. Some times when indoors, the date field might take some time to show up.
- Email: is the field that is used to bind the Wi-Fi adapter to
- Password: is the password you are going to use to SIGN UP/SIGN IN
- ?: display the Google Cloud requirements for the password field
- Eye: Shows/hides the password entered
- 4 Check boxes that provide the status of the User once Logged in
- Email Verified (user must verify their email with Google cloud services after Singing up.)
- User Approved (Developer approves the account)
- Expired: If the account has expired. Wi-Fi accounts do not expire
- As: is the account type, Tester (not used any longer), OTG (wired solution), Wi-Fi user
- GPS & Orientation Data check box
- When Selected, more fields will show up
- Lattitude
- Longitude
- Altitude
- Accuracy
- Provider
- Date
- Time
- Roll
- Pitch
- Azimuth
- When Selected, more fields will show up
- SIGN IN button is used to sign in into the app. The app will validate the user and authenticate the Wi-Fi adapter.
- CLEAR button is used to clear the Email and Password fields
- SIGN Up button is used to Signup with Google Cloud services. It is used initially to create the account and then Google Cloud services will send an email to the entered email address to get validated.
- PASSWORD RESET is used to reset the password if user can not remember it.
- LOGIN HELP button will display process of Sing Up
After the user have successfully Signed up and validated their email address, and have their account approved, they can now Sign In.
MAIN SCREEN
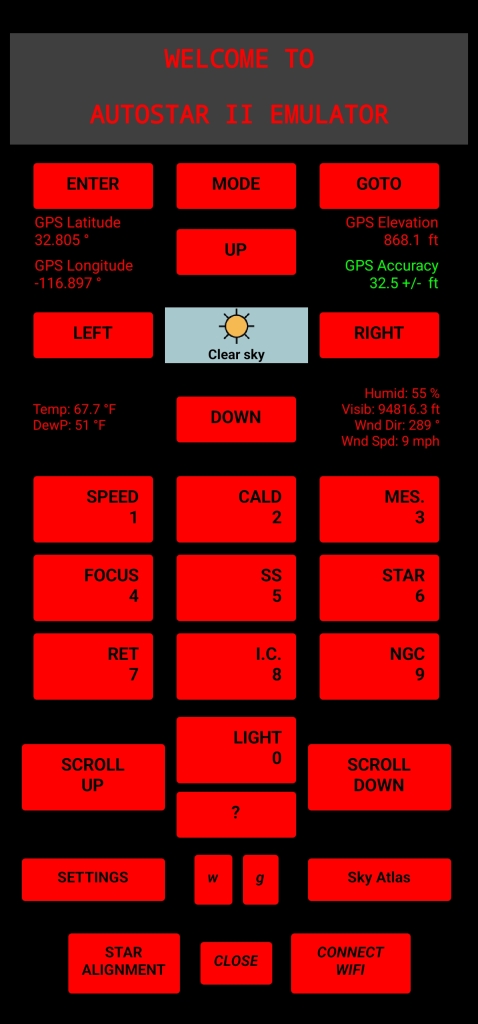
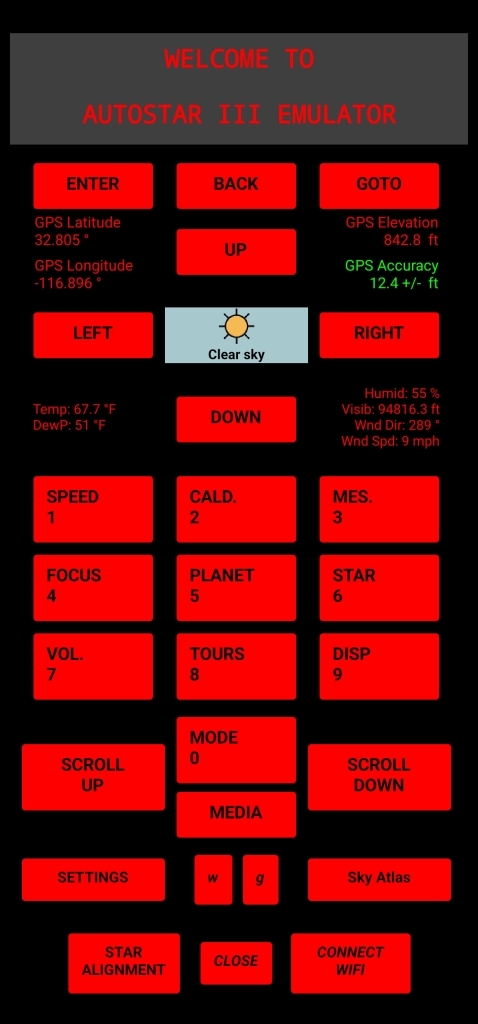
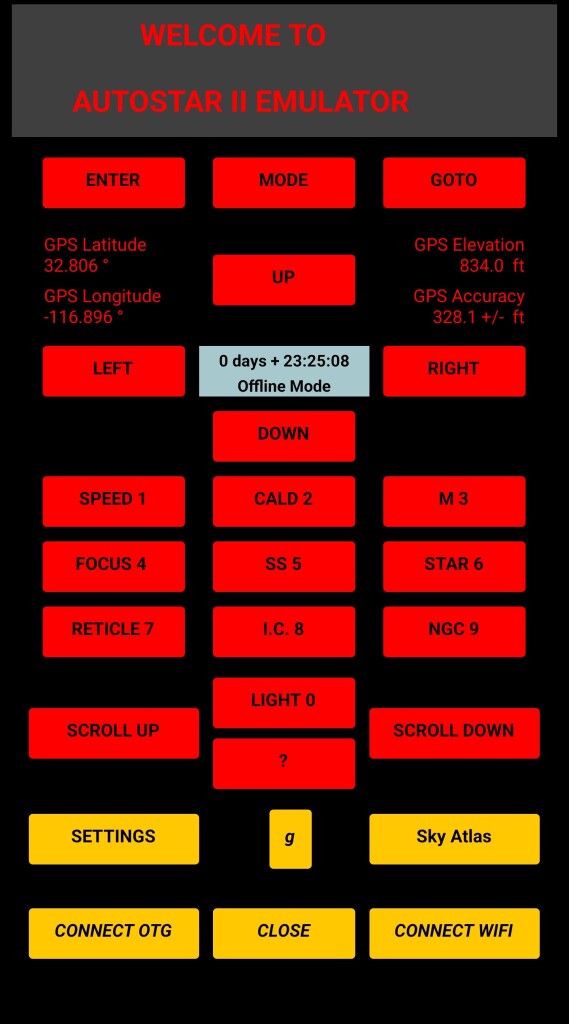
This is the Main screen of the app; it replicates the AUTOSTAR II/III hand box. You have the top Grey area which consists of two display lines and the arrangement of the buttons in Red. Most of the buttons provide the same functionality as the ASII. You can press once or press and Hold. The LIGHT 0 button is the exception for the ASII. When pressed and held the Flash of the Android device will activate (if device has a camera/flash); when released the Flash goes off.
There are additional buttons and information in this screen. At the top we display the GPS information, between the slew buttons we show the current weather condition (icon & description) if the weather functionality has been enabled in the Settings screen.
Clicking the weather Icon will open the 12 hour Weather forecast and NASA image of the day screen.
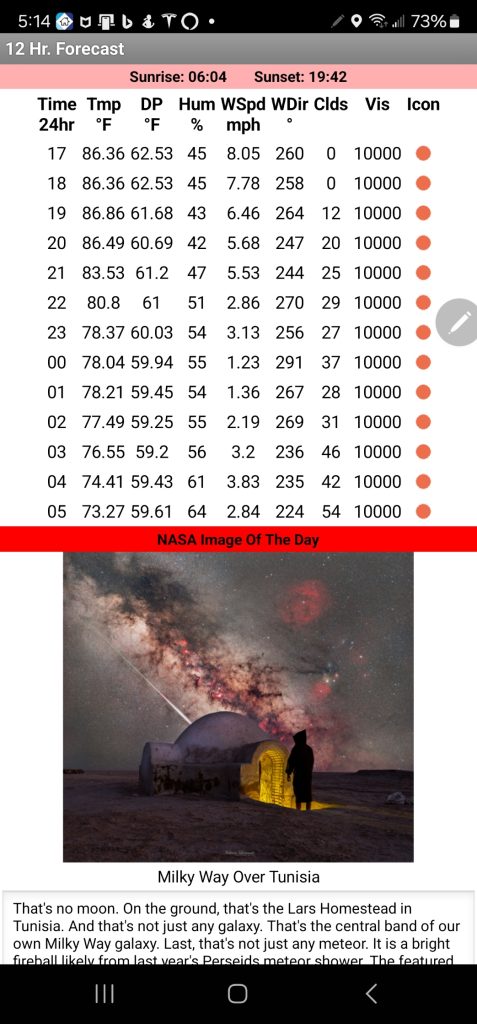
Below the Slew Left & Right we display the current weather information (again if the the weather functionality has been enabled).
Yellow Buttons (which also can be changed to Red in the Settings Screen):
The SETTINGS button will open the Settings Screen where you configure the app and its various functionality.
The W or w button will show or hide the weather data.
The G or g button will show or hide the GPS data.
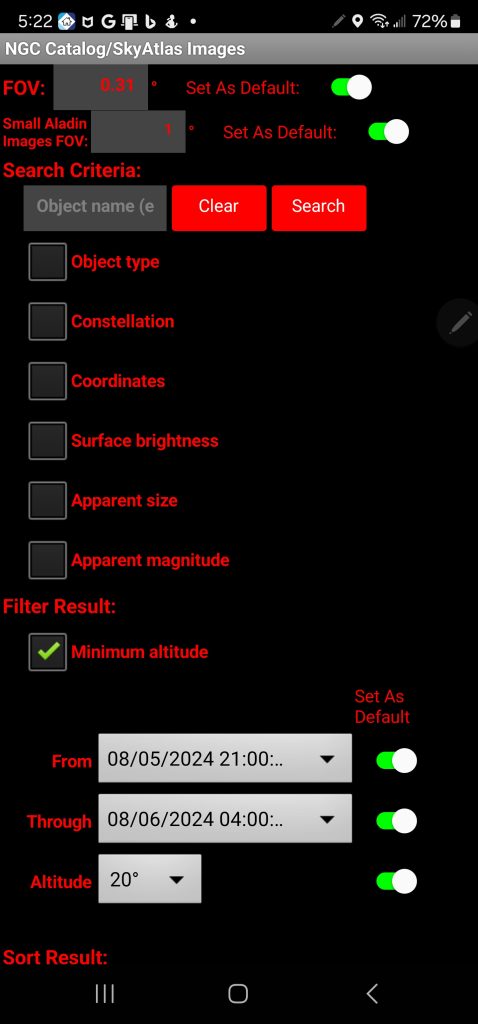
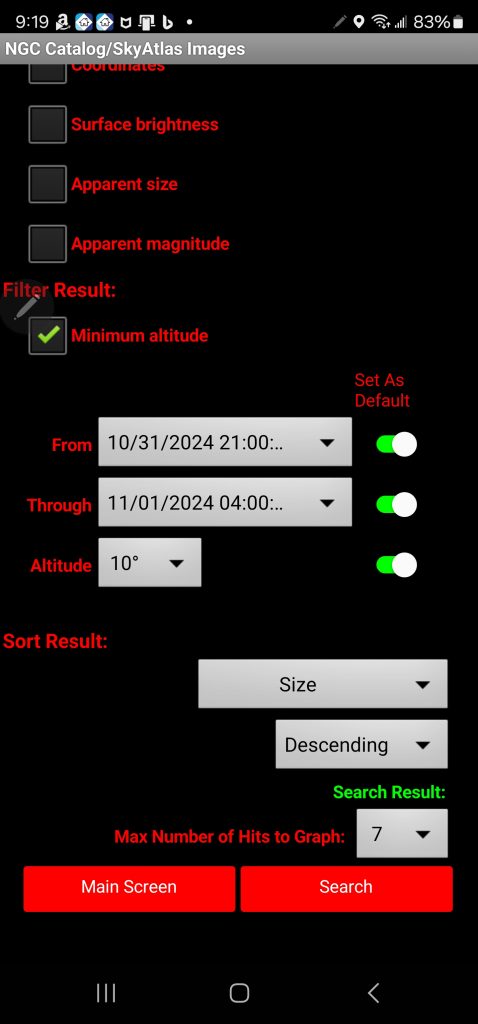
The Sky Atlas button will open the the Sky Atlas screen where the user can search the NGC catalog and display images from the online Aladin database.
The CLOSE button will close the app. Push and Hold the CLOSE button opens the SIGN IN SCREEN

The CONNECT WIFI button will connect to the Wi-Fi adapter so the user can control their mount. The Wi-Fi adapter must be connected to the HBX port of the mount and the mount is turned on.
SETTINGS SCREEN
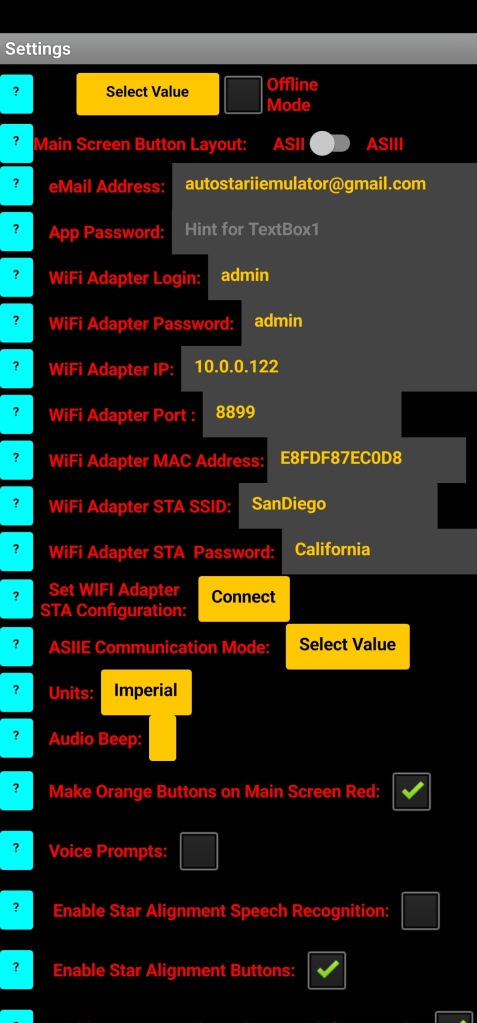
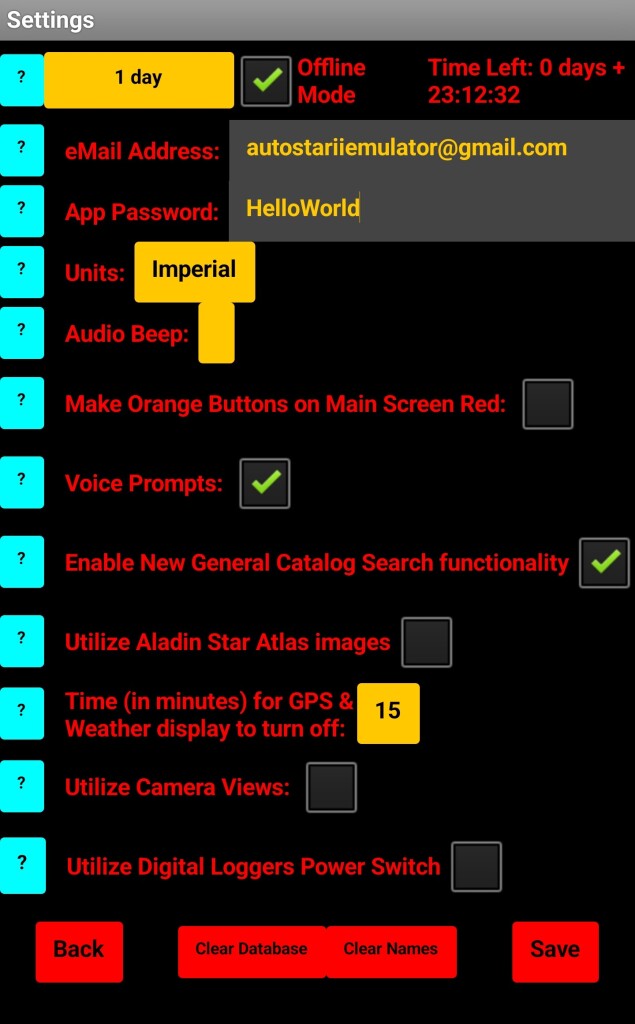
If you enable Offline Mode by selecting the Offline Period and then selecting the Offline Mode checkbox you will get a “Time Left” countdown timer showing the time left (day +hours, minutes, seconds) when the app will require you to Sign In and Authenticate the User and Wi-Fi Adapter if in Wi-Fi mode. The same type of timer will also be displayed on the Main Screen where the Weather Icon and Summary are normally displayed.
The Main Screen Button Layout is where you can Choose if you want to use the ASII button Layout or the ASIII button Layout.


SKY ATLAS SCREEN
SKY ATLAS SCREEN CONT’D
SKY ATLAS SCREEN CONT’D
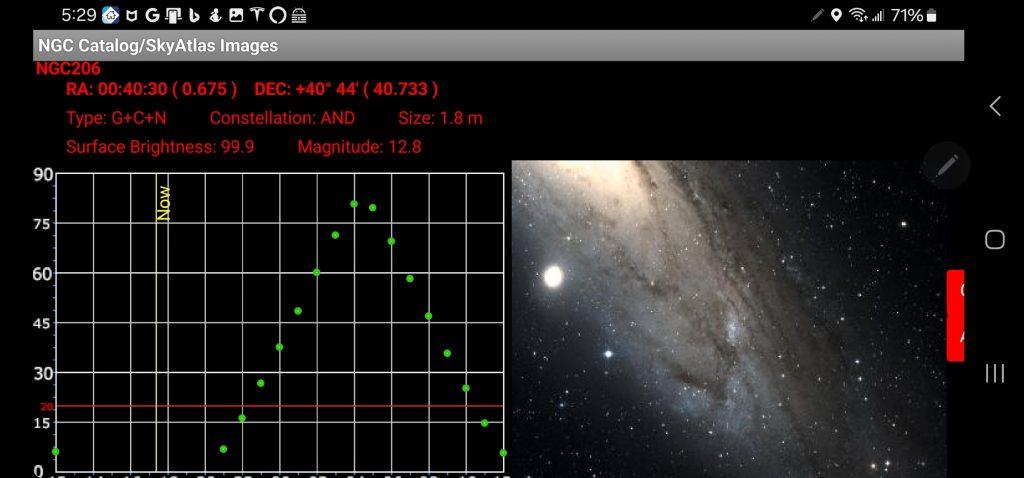
SKY ATLAS SCREEN CONT’D
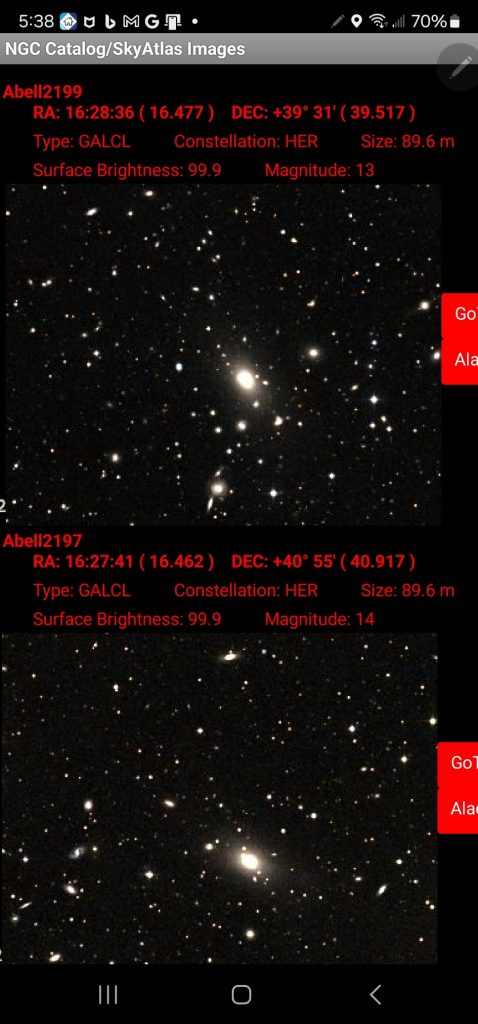
SKY ATLAS SCREEN CONT’D
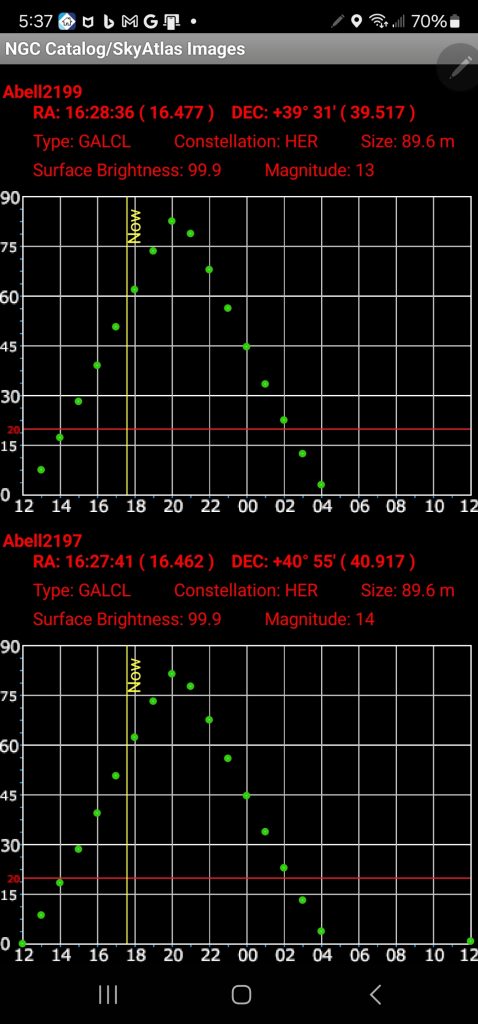
SKY ATLAS CONT’D
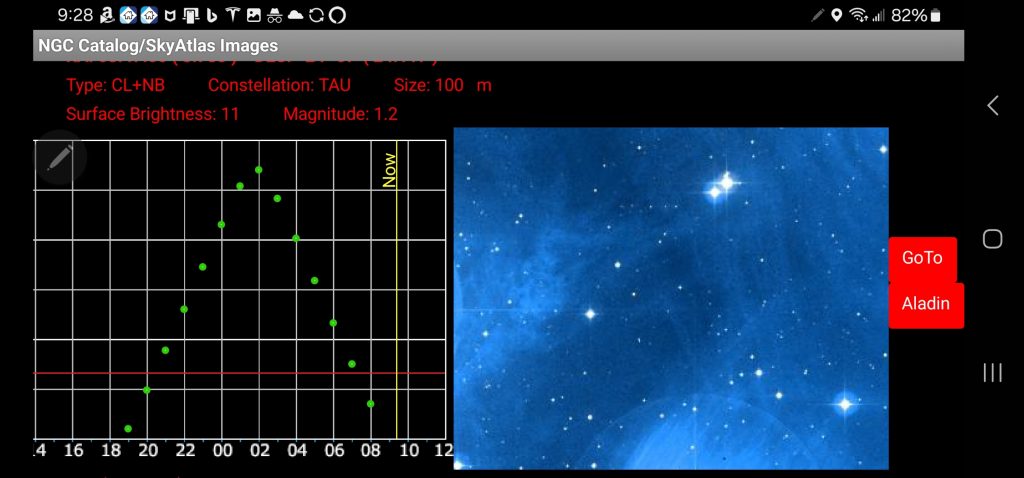
SKY ATLAS CONT’D
